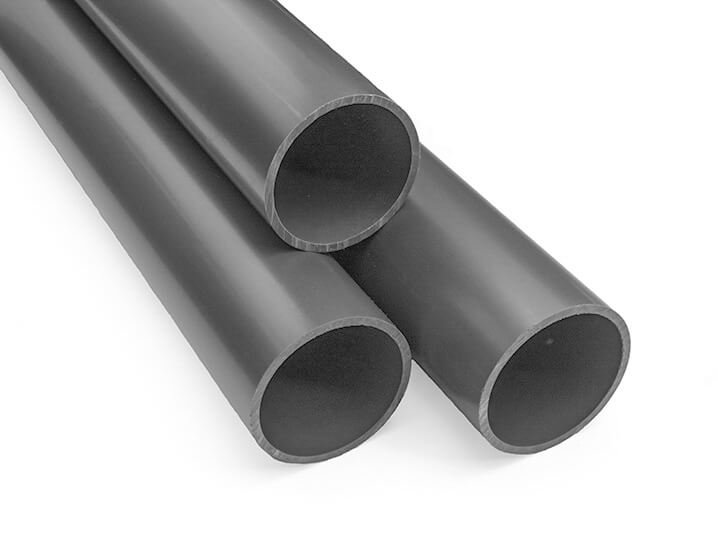
5m Length 2″ Pipe (Grey Class C)
£35.00 Inc VAT
5m Length 2″ Pipe (Grey)
PVC Pressure pipe. Outside diameter 60.3mm, Wall 2.5mm (may vary*), 9 bar WP.
(please note, there is a £19.99 oversize delivery charge for full lengths of pipe that is outside of the free shipping offer)
*Due to supplier shortages, we cannot guarantee that the wall thickness will match what is noted in the product descriptions.
Understanding the Different Types of Plumbing Fittings
PVC (polyvinyl chloride) is a widely used material for plumbing in various applications, including hot tubs and pools. PVC fittings come in different types, each with specific functions and connection methods. Here are some common types of PVC plumbing fittings and how they work:
- Socket (Slip) Fittings: Socket fittings have a smooth, socket-like opening on one end, into which the end of a PVC pipe is inserted. The connection is secured using PVC cement or adhesive. These fittings are called "slip" because the pipe slips into the socket. Socket fittings are commonly used when a strong, permanent connection is required. They are often used in straight pipe runs or when connecting pipes to equipment like pumps or filters.
- Spigot (SPG) (Male) Fittings: Spigot fittings have a smooth, tapered end that fits into the socket of another fitting or pipe. Spigot fittings are also known as "male" fittings because they have an external, male-like end. To make a connection, the spigot end of one fitting or pipe is inserted into the socket end of another fitting or pipe. This connection is typically secured with PVC cement or adhesive. Spigot fittings are versatile and are used in a variety of plumbing configurations. **Please note SPG connections only fit into other fittings, they do not fit into pipe**
- Threaded Fittings: Threaded PVC fittings have threads on one or both ends, allowing them to be screwed onto threaded pipes or other fittings. These fittings provide a secure, removable connection, making them suitable for applications where disassembly may be required, such as for maintenance or repairs. Threaded fittings often use Teflon tape or pipe thread sealant to ensure a watertight seal when screwing them together.
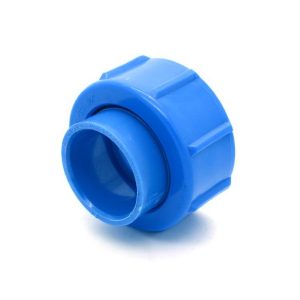
- Union Fittings: Union fittings consist of two parts: a threaded nut and a slip socket or spigot end. These fittings are designed for easy disassembly and reassembly without the need for cutting or re-gluing pipes. To disconnect the union, you simply unscrew the nut, separating the two parts. Union fittings are commonly used at the pump and filter connections, allowing for straightforward equipment maintenance.
- Elbow Fittings: Elbow fittings are used to change the direction of the plumbing pipe. They come in various angles, most commonly 90 degrees and 45 degrees. Elbow fittings can be either socket or spigot type, depending on how they are used in the plumbing configuration. They are essential for creating bends and turns in the PVC plumbing system.
- Tee Fittings: Tee fittings have a T-shaped design, allowing for the connection of three pipes at right angles to one another. They come in various configurations, including socket, spigot, and threaded. Tee fittings are commonly used to create branch lines in a plumbing system or to combine multiple pipes into a single line.
- Coupling Fittings: Coupling fittings are used to connect two pipes or fittings in a straight line. They are typically socket or spigot type and provide a secure, leak-resistant connection.
- Reducer Fittings: Reducer fittings are used to connect pipes of different diameters. They come in various configurations, including socket, spigot, and threaded. Reducers allow you to transition from a larger pipe size to a smaller one or vice versa.
- Cross Fittings: Cross fittings are similar to tee fittings but have four openings, forming a cross shape. They allow for the connection of four pipes at right angles to one another.
- MBT - Male Buttress Thread - this is the male thread (that sticks out on the outside) that is commonly found on pumps for example. The thread (the rough part) is on the outside.
- FBT - Female Buttress Thread. This is the female connection so the thread is on the inside.
- Barb - these tend to be tapered and pushed on fittings rather than glued.
How to Make the Perfect PVC Pipe Joint
Creating a perfect PVC pipe joint with PVC pipe cement requires precision and following the correct steps. Here's a step-by-step guide to help you achieve a strong and watertight connection:
Materials and Tools You'll Need:
- PVC pipes and fittings
- PVC pipe cement (solvent cement)
- PVC primer (if required by local codes)
- Pipe cleaner or cloth
- Pipe cutter or hacksaw
- Emery cloth or sandpaper (if needed)
Steps:
- Gather Your Materials: Ensure you have all the necessary materials and tools ready.
- Cut the Pipe: Measure and mark the PVC pipe at the desired length using a pencil or marker. Use a pipe cutter or hacksaw to make a clean, square cut. It's essential to have straight, evenly cut ends for a proper joint.
- Prepare the Pipes and Fittings: If required by local codes, apply PVC primer to the outside of the pipe end and the inside of the fitting socket. Primer helps clean and prepare the PVC surfaces for a secure bond. Allow the primer to dry for a few seconds.
- Clean the Surfaces: Even if you're not using primer, it's essential to clean the surfaces of both the pipe and the fitting. Use a pipe cleaner or a clean cloth to remove any dirt, debris, or moisture.
- Mark the Joint: It is a good idea to use a Sharpie and mark exactly where you want the pipe and the fitting to line up. When you are in a rush to the put the two pieces together it is always good to have an alightment mark.
- Apply PVC Cement: Shake or stir the PVC cement thoroughly to ensure it's well-mixed. Using an applicator brush that comes with the cement or a separate brush, apply a liberal and even coat of PVC cement to the outside of the pipe end. Apply another coat to the inside of the fitting socket.
- Assemble the Joint: Quickly insert the pipe into the fitting socket, making sure it's fully seated. Give the pipe a slight twist (about a quarter-turn) to spread the cement evenly and create a secure bond. Hold the joint firmly in place for a few seconds to prevent any movement. Then move it back to alight up to the sharpie marks you have already made.
- Wipe Off Excess Cement: With a clean cloth or rag, wipe off any excess cement that may have squeezed out around the joint. This helps create a neat and tidy appearance and ensures the joint is watertight.
- Cure Time: Allow the cement to cure for the recommended time, which is usually around 15-30 minutes, depending on the brand and type of cement. Avoid disturbing the joint during this time.
Related products
Plumbing and Other
Plumbing and Other
3 quarter inch vinyl water pipe (per metre) (PLEASE SEE ADDITIONAL NOTES)
Chemicals & Accessories
Chemicals & Accessories

