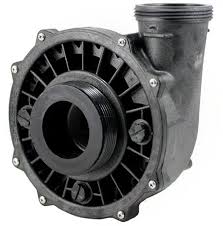
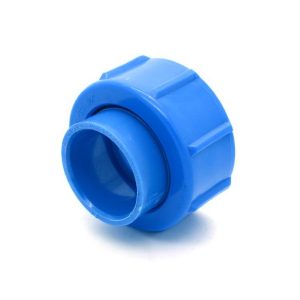
2 to 2.5 inch Threaded Union Adapter
£13.51 Inc VAT
65 in stock
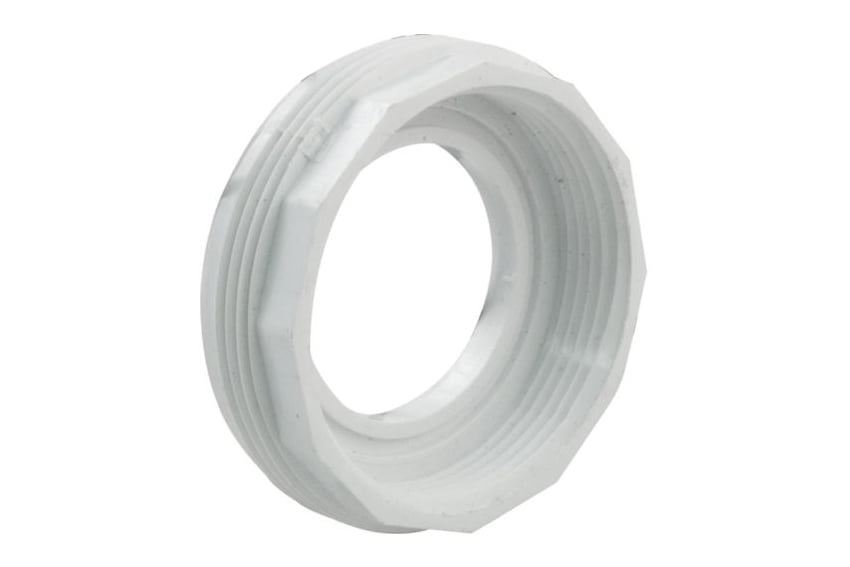
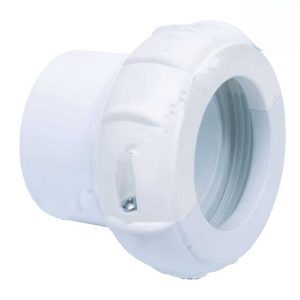
2 to 2.5 inch Threaded Face Plate Adapter: Upgrade Your Hot Tub Pump Performance
Introduction
As a dedicated hot tub enthusiast and spare parts supplier, I’m excited to offer you the 2 to 2.5 inch Threaded Face Plate Adapter. This versatile component is designed to enhance your hot tub’s pump performance and compatibility. Whether you’re looking to upgrade your existing setup or replace a worn-out part, this adapter is the perfect solution.
Product Overview
The 2 to 2.5 inch Threaded Face Plate Adapter is a high-quality conversion piece manufactured by Hydroquip, a trusted name in the hot tub industry. This adapter allows you to convert a standard 2-inch pump intake to a larger 2.5-inch intake, potentially improving water flow and overall pump efficiency.
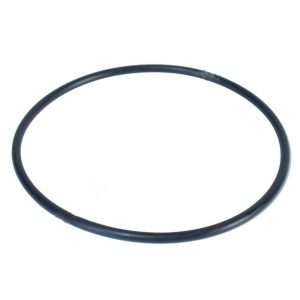
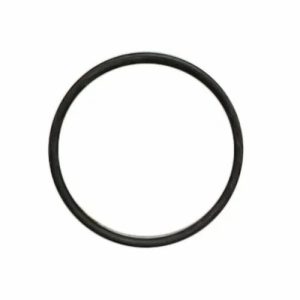
**O ring sold separately
Key Features
- Converts 2-inch intakes to 2.5-inch
- Compatible with Waterway pumps and other industry-standard models
- Durable construction for long-lasting performance
- Easy screw-in installation
Detailed Specifications
To help you make an informed decision, I’ve compiled a comprehensive specifications table:
| Specification | Detail |
|---|---|
| Type | Threaded Face Plate Adapter |
| Manufacturer | Hydroquip |
| Material | High-grade, water-resistant plastic |
| Plumbing Connections | Screw-in |
| Internal Diameter | 75 mm |
| External Diameter | 92 mm |
| Depth | 26 mm |
| Color | White (may vary based on manufacturer batch) |
| Thread Type | Standard hot tub pump thread |
| Weight | Approximately 100 grams (varies slightly) |
Compatibility and Usage
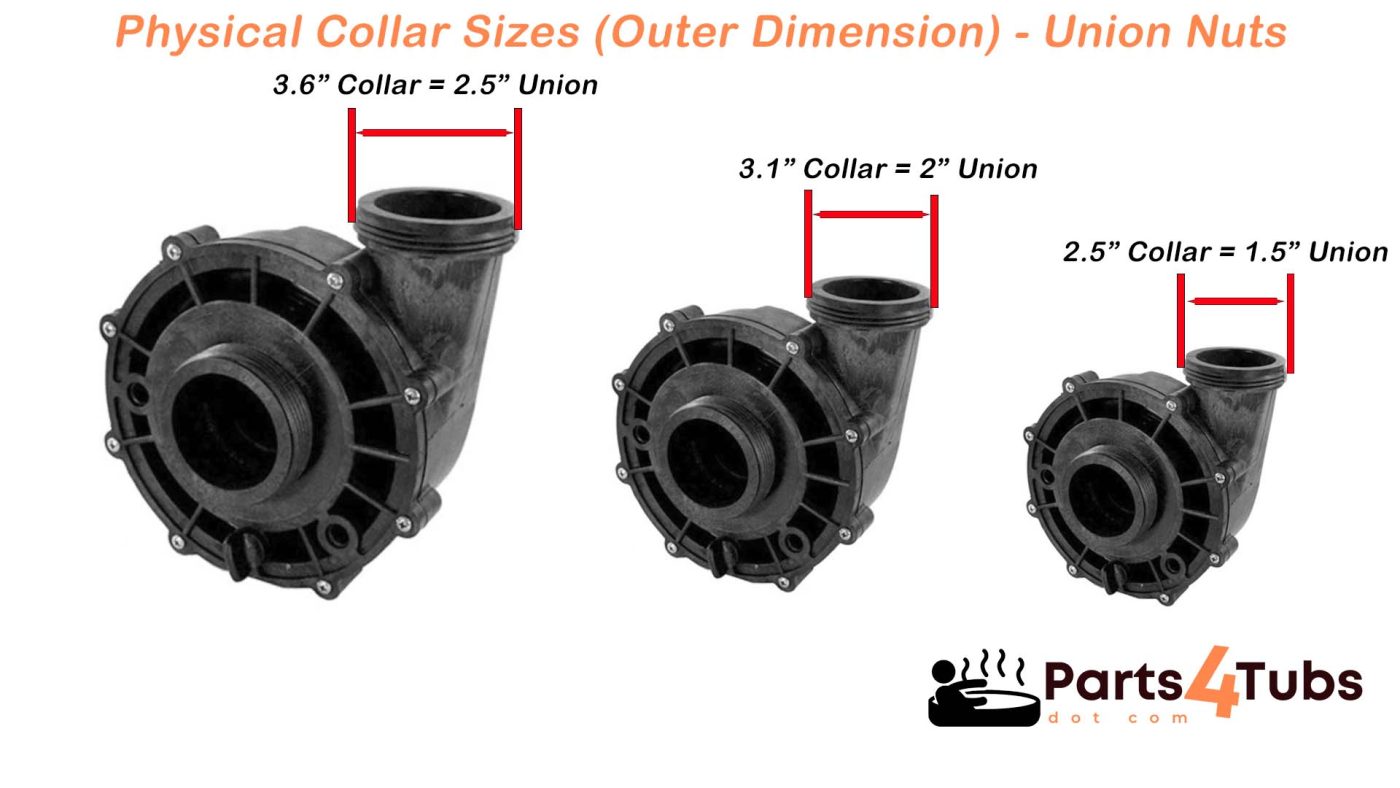
This adapter is incredibly versatile, designed to work with a wide range of hot tub pumps. It’s particularly well-suited for Waterway pumps, but its standard sizing means it can be used with any pump featuring a 2-inch intake (measuring 75mm OD).
The screw-in design ensures a secure fit, reducing the risk of leaks and ensuring optimal performance. Remember, the O-ring for this adapter is sold separately, so be sure to check out the related items to complete your purchase.
Benefits of Upgrading
By installing this 2 to 2.5 inch adapter, you’re opening up a world of possibilities for your hot tub:
- Improved Water Flow: The larger intake diameter can allow for increased water flow, potentially boosting your pump’s efficiency.
- Enhanced Compatibility: This adapter makes it possible to use a wider range of pumps with your existing plumbing.
- Easy Maintenance: The simple screw-in design makes future maintenance or replacements a breeze.
- Longevity: Made from high-quality materials, this adapter is built to last, ensuring your investment pays off in the long run.
Installation Tips
While installation is straightforward for those with some DIY experience, I always recommend consulting with a professional if you’re unsure. Here are some quick tips:
- Ensure your pump is completely drained and powered off before installation.
- Clean the existing intake thoroughly before attaching the adapter.
- Use plumber’s tape on the threads for an extra secure, leak-free seal.
- Don’t forget to install the O-ring (sold separately) for proper function.
Conclusion
The 2 to 2.5 inch Threaded Face Plate Adapter is more than just a simple part – it’s a gateway to improved hot tub performance and versatility. Whether you’re upgrading your system or simply replacing a worn component, this adapter offers quality, compatibility, and potential performance benefits that make it a smart choice for any hot tub owner.
Remember, regular maintenance and using the right parts are key to keeping your hot tub in top condition. If you have any questions about this adapter or need advice on other hot tub components, don’t hesitate to reach out. I’m here to help you make the most of your hot tub experience!
USA Imperial is the Standard
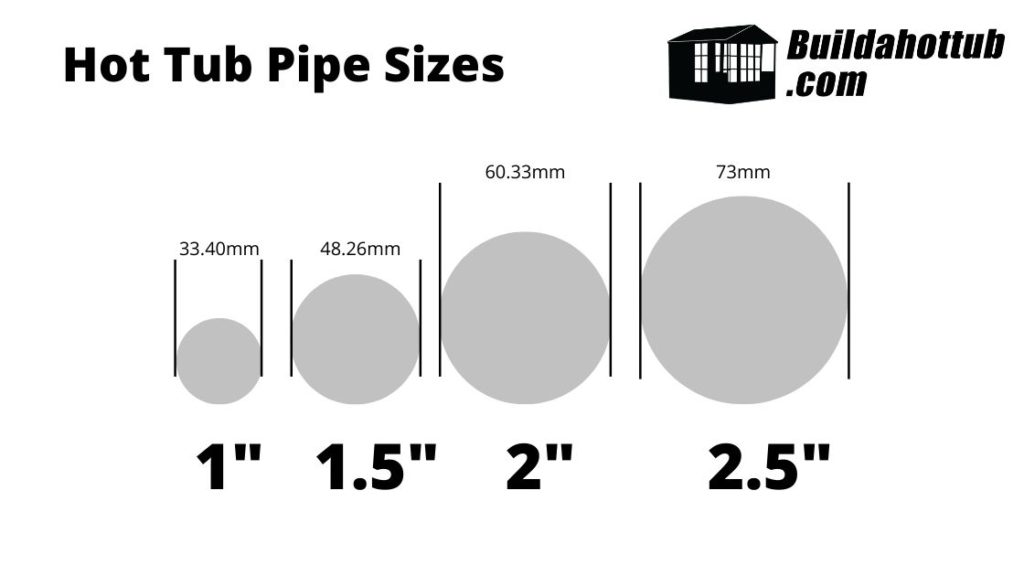
All hot tubs and their fittings are designed for USA standard of Imperial pipe. Would you believe that for example, a European 2.5″ pipe is different from a USA 2.5″ pipe – well it is and there is just over 2mm difference and it makes a huge difference as it doesn’t fit!
You must make sure that you are using American standard sized pipe – always worth checking with your supplier before you purchase.
Can I convert Metric pipe to Imperial?
Yes, you can convert metric pipe to imperial, usually there is a socket connection that will do that. However, what I would preface that with is really, the only reason you would want to do that is say if you have a long run of pipe between your control room and your hot tub. You cant easily get imperial pipe supply but you have found say 75mm pipe that would do the job.
In this instance, it would work to convert it down at each end.
However, what you cannot do (technically you can but it is a real mess to do so) is convert all of the pipework to metric using adaptors. Generally, this just doesn’t work, costs loads in just adaptors alone and the amount of joints means you are going to have some leaks!
What rating of pipe do I need?
Pipe is rated to different pressures. You must use pressure rated pipe on your hot tub build as it is a pressurised system. In general, any pipe that is rated to 130 PSI or 9 BAR can be used on a hot tub build. This is often referred to as Class C. Likewise, Class E which is rated to 15 BAR or 218 PSI is also commonly found on hot tub builds.
Anything less than 130 PSI or 9 BAR should not be used – the pipes are not waste water pipes that are commonly found in hardware stores. They must be pressure rated and you will see this printed on the side of all the pipe so there will be no confusion.
What about Schedule 40 Pipe?
The schedule number on pipe correlates to the thickness of the wall on the pipe: as the number increases, the thicker the wall thickness is. Also, what is interesting is that while the schedule number can be the same on different sized pipes, the actual wall thickness will be different.
However, for our DIY Hot Tubs, we would only opt for schedule 40 – schedule 80 would be an overkill.
We also only use schedule 40 pipe if it is being buried and there is considerable weight on it. What I mean by this is that you need the physical strength of the pipe to stop it being crushed and cracked. In most cases, regular pressure rated pipe is just fine.
Should I use Rigid or Semi-Flexible Pipe?
When I built my own hot tub, I opted for semi-flexible as I though that it would be a little more forgiving. It is, however it is now my experience that the fact it is forgiving, and I use that in a loosest of terms as it is still pretty rigid pipe, it is more likely to leak.
The reason that it is more likely to leak is that you can “force” the joint when there is a little bit of give in the pipe. If you force the joint as I have said many times on this blog and on my YouTube Channel, you are going to have leaks – and it did!
For that reason, wherever possible today I recommend that you use rigid pipe. You have to make a good joint and it has to be accurate. It is forcing your workmanship which you will benefit from in the long run. Rigid pipe is the way forward for your DIY Hot Tub build.
Support your Pipework
If you pick up a length of pipe, 2m/6ft, there is not a lot of weight in it at all. However, if you fill that same pipe with water, cap it off each end and try to lift it, you will notice there is a huge weight increase. Water is heavy. If you have long runs of pipe, you must support them. Whether this is in ground and they should be laid correctly with a gravel base or if it is on your hot tub, they should be tied and pinned to the block work.
If you dont support your pipes and they fill with water, you can put strain on the joints that over time, will work their way loose and leak. It only takes a couple of minutes to tie your pipes and support them and it will save a whole bunch of time and money on repairs in the future by getting this right from the start.
Making the perfect joint with PVC pipe cement.
On this blog and on my YouTube Channel I talk a lot about making the correct joints and that a well made joint doesn’t leak. So, how do you make a well made joint?
- Make sure when you cut the pipes you are cutting them at 90 degrees so they fit into the fittings correctly.
- Make sure you remove any rough edges from your cuts
- Ensure you are roughing up 3″ of the pipe with sand paper before you make the connection
- Apply PVC Pipe Cement to the pipe and the connection
- Twist the pipe or fitting as you are inserting it to prevent “channeling” which leads to leaks
- Make sure the pipe goes all the way into the fitting (always a good idea to mark the ideal depth you want to get to)
- Wipe off any excess pipe cement.
- Allow to cure for 4 hours for full strength
| Part# | 415-6010 |
|---|
You may also like…
Pumps and Pump Parts
Pumps and Pump Parts
Plumbing and Other
Related products
Plumbing and Other
Plumbing and Other
Plumbing and Other
Chemicals & Accessories
Plumbing and Other
Plumbing and Other
3 quarter inch vinyl water pipe (per metre) (PLEASE SEE ADDITIONAL NOTES)

