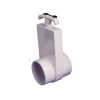

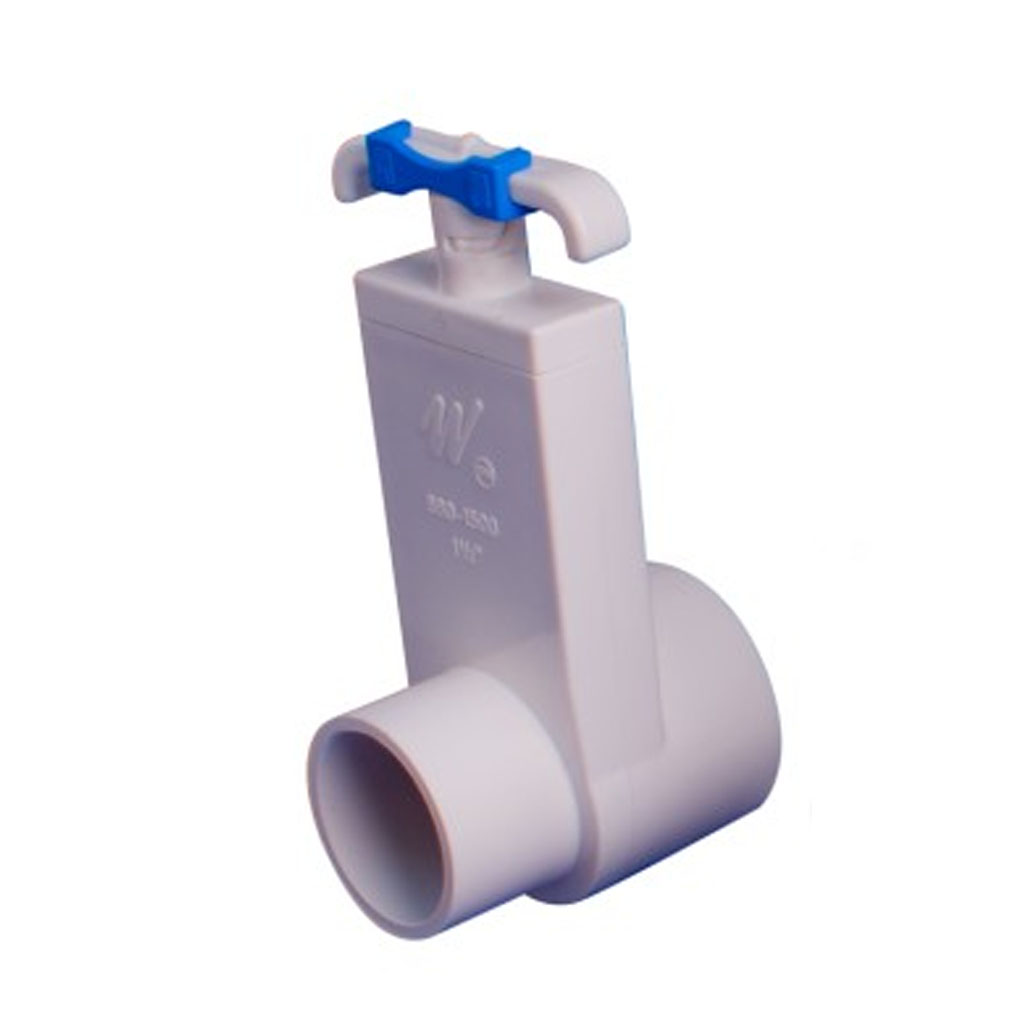
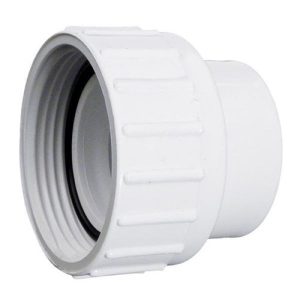
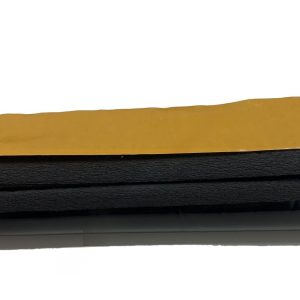
1.5 inch Slide Gate Valve (Spg x Spg)
£11.53 Inc VAT
41 in stock
1.5 inch Slide Gate Valve (Spg x Spg)
Product Overview
As a hot tub enthusiast and spare parts supplier, I’m excited to offer you the LVJ30 1.5 inch Slide Gate Valve. This versatile and essential component is designed to give you complete control over your hot tub’s water flow, making maintenance and repairs a breeze.
Key Features
Precise Flow Control
The 1.5 inch Slide Gate Valve, also known as a shut-off valve, allows you to quickly and easily isolate sections of your hot tub’s plumbing. This feature is invaluable when you need to perform maintenance or repairs without draining your entire system.
Versatile Connection Options
With its spigot x spigot (Spg x Spg) configuration, this valve offers maximum flexibility in installation. It’s compatible with both 1.5 inch rigid pipes and 1.5 inch flexible pipes, ensuring a perfect fit for various hot tub setups.
Easy Integration
The female/female fitting design means you can effortlessly connect this valve directly to a pump union and then to another fitting. This simplifies installation and reduces the need for additional adapters.
Durable Construction
Manufactured by LVJ30, a trusted name in hot tub components, this gate valve is built to withstand the demanding conditions of your hot tub environment. Its robust construction ensures long-lasting performance and reliability.
Applications
This 1.5 inch Slide Gate Valve is an indispensable tool for hot tub owners and maintenance professionals alike. Here are some common uses:
- Isolating pump systems for easy access and maintenance
- Controlling water flow to specific hot tub features
- Facilitating quick repairs without full system drainage
- Balancing water distribution in multi-jet systems
Installation Tips
When installing the 1.5 inch Slide Gate Valve, ensure that it’s easily accessible for future adjustments. I recommend using pipe lubricant on the spigot connections to ensure a watertight seal and smooth operation.
Maintenance Advice
To keep your gate valve in top condition, operate it regularly to prevent seizing. A quick open and close every few weeks should suffice. If you notice any leaks or difficulty in operation, it may be time for a replacement.
Specifications Table
| Feature | Specification |
|---|---|
| Type of Product | Gate Valve / Slide Valve / Shut off valve |
| Manufacturer | LVJ30 |
| Connection Type | Spigot x Spigot |
| Size Reference | 1.5 inch |
| Outer Length | 58mm |
| Outer Height | 170mm |
| Outer Depth | 82mm |
| Internal Diameter | 48mm |
| Compatible With | 1.5 inch rigid pipe and 1.5 inch flexible rigid pipe |
Why Choose This Gate Valve?
As someone who understands the importance of quality components in hot tub maintenance, I’ve selected this 1.5 inch Slide Gate Valve for its reliability and versatility. It’s an essential part of any hot tub owner’s toolkit, allowing for efficient system management and easier maintenance routines.
Conclusion
The LVJ30 1.5 inch Slide Gate Valve is more than just a simple component – it’s a key to maintaining your hot tub with ease and efficiency. Its robust design, versatile applications, and easy installation make it an excellent choice for both DIY enthusiasts and professional installers.
Invest in this high-quality gate valve to enhance your hot tub’s functionality and simplify your maintenance routine. Your future self will thank you when it’s time for those routine checks and repairs!
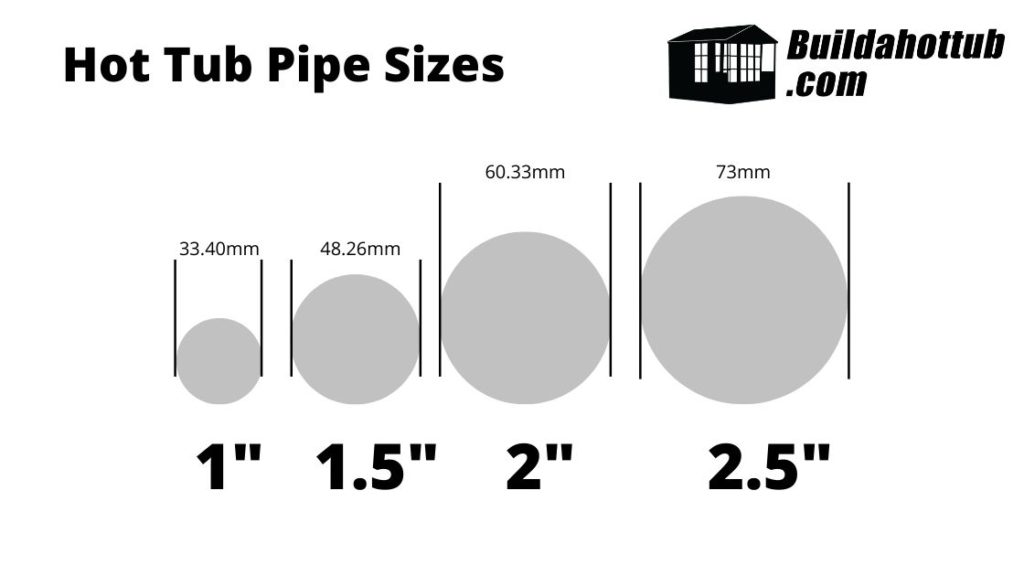
USA Imperial is the Standard
All hot tubs and their fittings are designed for USA standard of Imperial pipe. Would you believe that for example, a European 2.5″ pipe is different from a USA 2.5″ pipe – well it is and there is just over 2mm difference and it makes a huge difference as it doesn’t fit!
You must make sure that you are using American standard sized pipe – always worth checking with your supplier before you purchase.
Can I convert Metric pipe to Imperial?
Yes, you can convert metric pipe to imperial, usually there is a socket connection that will do that. However, what I would preface that with is really, the only reason you would want to do that is say if you have a long run of pipe between your control room and your hot tub. You cant easily get imperial pipe supply but you have found say 75mm pipe that would do the job.
In this instance, it would work to convert it down at each end.
However, what you cannot do (technically you can but it is a real mess to do so) is convert all of the pipework to metric using adaptors. Generally, this just doesn’t work, costs loads in just adaptors alone and the amount of joints means you are going to have some leaks!
What rating of pipe do I need?
Pipe is rated to different pressures. You must use pressure rated pipe on your hot tub build as it is a pressurised system. In general, any pipe that is rated to 130 PSI or 9 BAR can be used on a hot tub build. This is often referred to as Class C. Likewise, Class E which is rated to 15 BAR or 218 PSI is also commonly found on hot tub builds.
Anything less than 130 PSI or 9 BAR should not be used – the pipes are not waste water pipes that are commonly found in hardware stores. They must be pressure rated and you will see this printed on the side of all the pipe so there will be no confusion.
What about Schedule 40 Pipe?
The schedule number on pipe correlates to the thickness of the wall on the pipe: as the number increases, the thicker the wall thickness is. Also, what is interesting is that while the schedule number can be the same on different sized pipes, the actual wall thickness will be different.
However, for our DIY Hot Tubs, we would only opt for schedule 40 – schedule 80 would be an overkill.
We also only use schedule 40 pipe if it is being buried and there is considerable weight on it. What I mean by this is that you need the physical strength of the pipe to stop it being crushed and cracked. In most cases, regular pressure rated pipe is just fine.
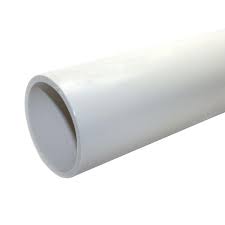
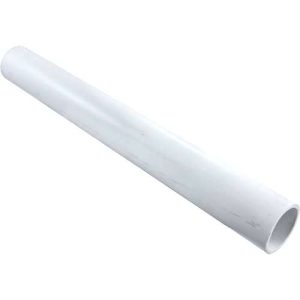
Should I use Rigid or Semi-Flexible Pipe?
When I built my own hot tub, I opted for semi-flexible as I though that it would be a little more forgiving. It is, however it is now my experience that the fact it is forgiving, and I use that in a loosest of terms as it is still pretty rigid pipe, it is more likely to leak.
The reason that it is more likely to leak is that you can “force” the joint when there is a little bit of give in the pipe. If you force the joint as I have said many times on this blog and on my YouTube Channel, you are going to have leaks – and it did!
For that reason, wherever possible today I recommend that you use rigid pipe. You have to make a good joint and it has to be accurate. It is forcing your workmanship which you will benefit from in the long run. Rigid pipe is the way forward for your DIY Hot Tub build.
Support your Pipework
If you pick up a length of pipe, 2m/6ft, there is not a lot of weight in it at all. However, if you fill that same pipe with water, cap it off each end and try to lift it, you will notice there is a huge weight increase. Water is heavy. If you have long runs of pipe, you must support them. Whether this is in ground and they should be laid correctly with a gravel base or if it is on your hot tub, they should be tied and pinned to the block work.
If you dont support your pipes and they fill with water, you can put strain on the joints that over time, will work their way loose and leak. It only takes a couple of minutes to tie your pipes and support them and it will save a whole bunch of time and money on repairs in the future by getting this right from the start.
Making the perfect joint with PVC pipe cement.
On this blog and on my YouTube Channel I talk a lot about making the correct joints and that a well made joint doesn’t leak. So, how do you make a well made joint?
- Make sure when you cut the pipes you are cutting them at 90 degrees so they fit into the fittings correctly.
- Make sure you remove any rough edges from your cuts
- Ensure you are roughing up 3″ of the pipe with sand paper before you make the connection
- Apply PVC Pipe Cement to the pipe and the connection
- Twist the pipe or fitting as you are inserting it to prevent “channeling” which leads to leaks
- Make sure the pipe goes all the way into the fitting (always a good idea to mark the ideal depth you want to get to)
- Wipe off any excess pipe cement.
- Allow to cure for 4 hours for full strength
| Part# | 880-2020 |
|---|
You may also like…
Plumbing and Other

Plumbing and Other
Plumbing and Other
Related products
Plumbing and Other
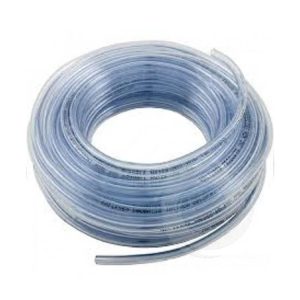
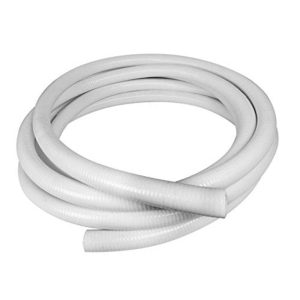
3 quarter inch vinyl water pipe (per metre) (PLEASE SEE ADDITIONAL NOTES)
Plumbing and Other
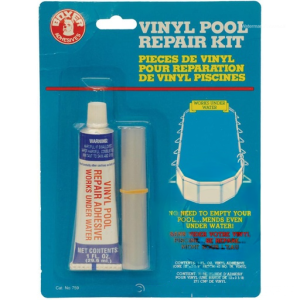
Chemicals & Accessories
Plumbing and Other

Plumbing and Other